How to Add a Row in a Board in Hoicko.
To manage your data efficiently in Hoicko, adding rows to your board is an essential step. Follow the step-by-step guide below to learn how to add a row in three different ways:
1. Log in to Hoicko
Visit hoicko.com and log in with your credentials.
2. Select the Board
From your workspace, choose the board where you want to add a new row.
Three Easy Ways to Add a Row:
Method 1: Use the Row Add Icon on Top
- Click on the icon (➕) at the top of the board.
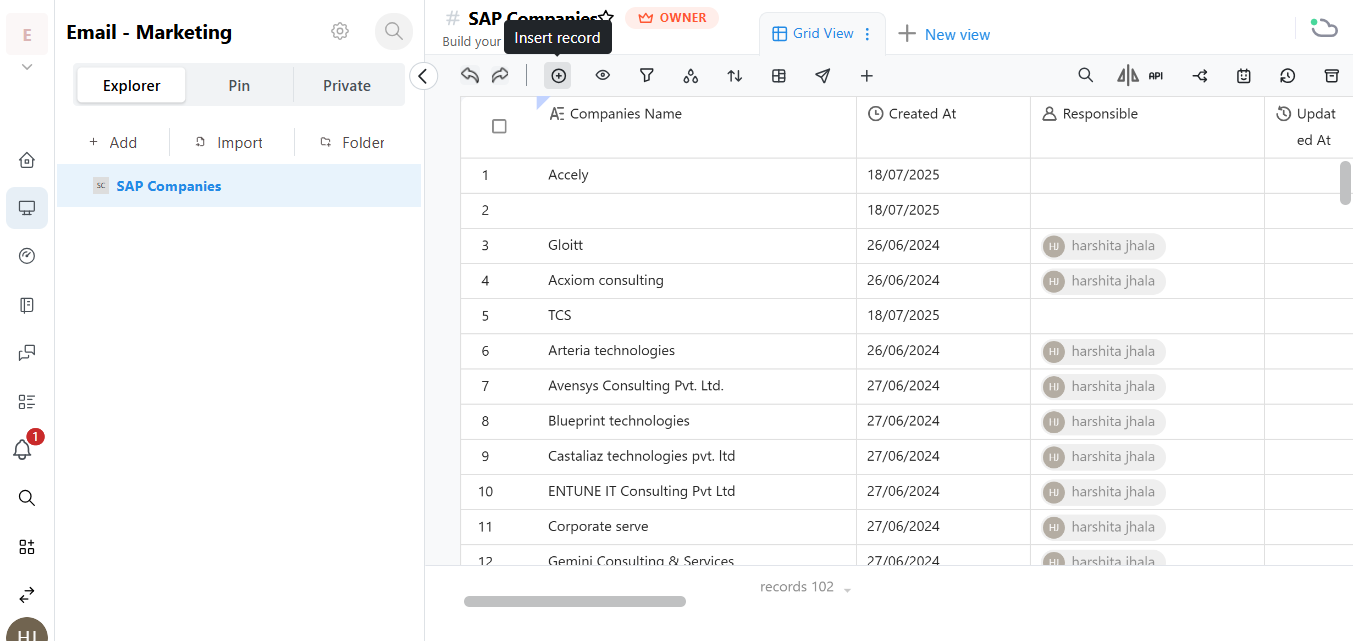
- Type your content in the newly created row.
- Press CREATE to save.
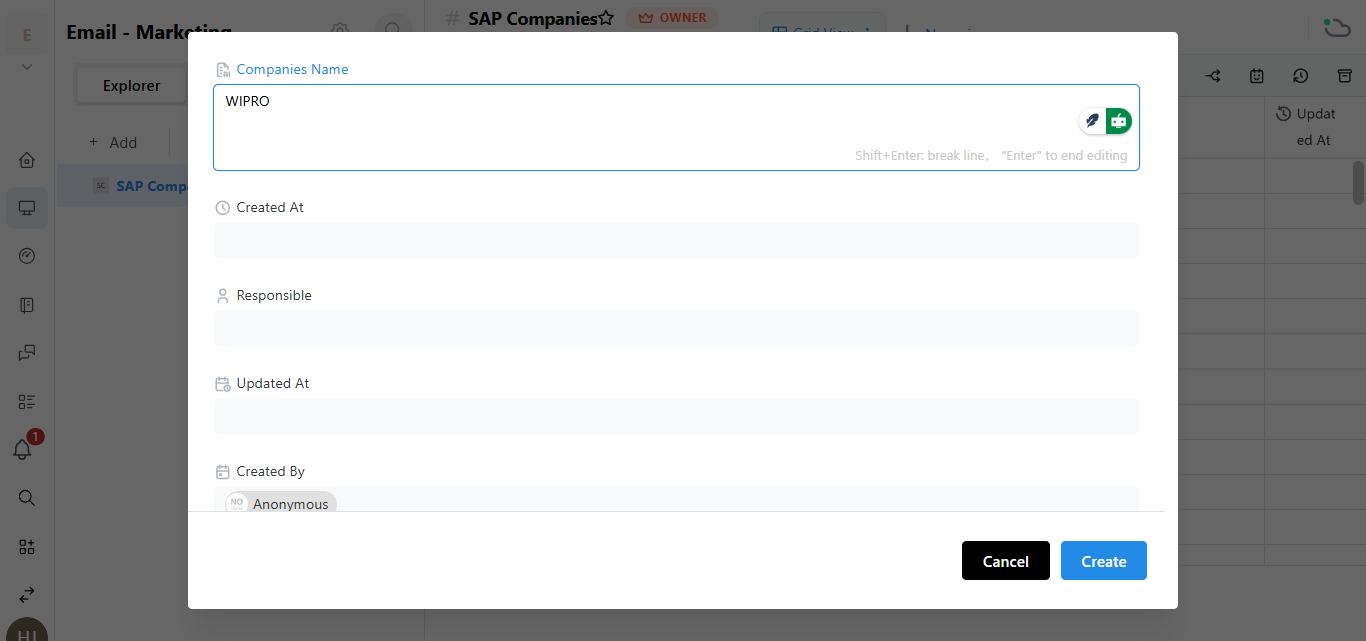
Row is successfully added.
Method 2: Use the Inline Plus Icon
- In the area between two existing rows.
- Click on the inline + icon that appears.
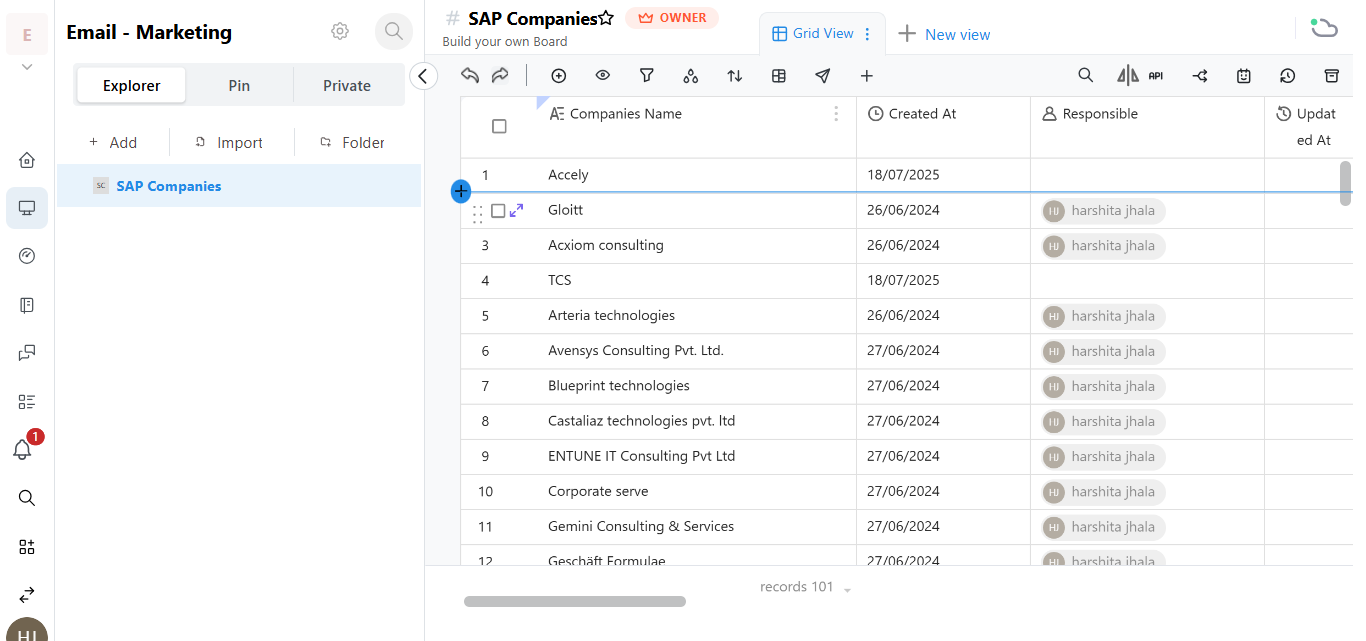
- Type the row content.
- Press Enter.
Row is now added between the selected rows.
Method 3: Use the Bottom Add Row Option
- Scroll to the bottom of the board.
- Click on the ➕ icon at the end of the board.
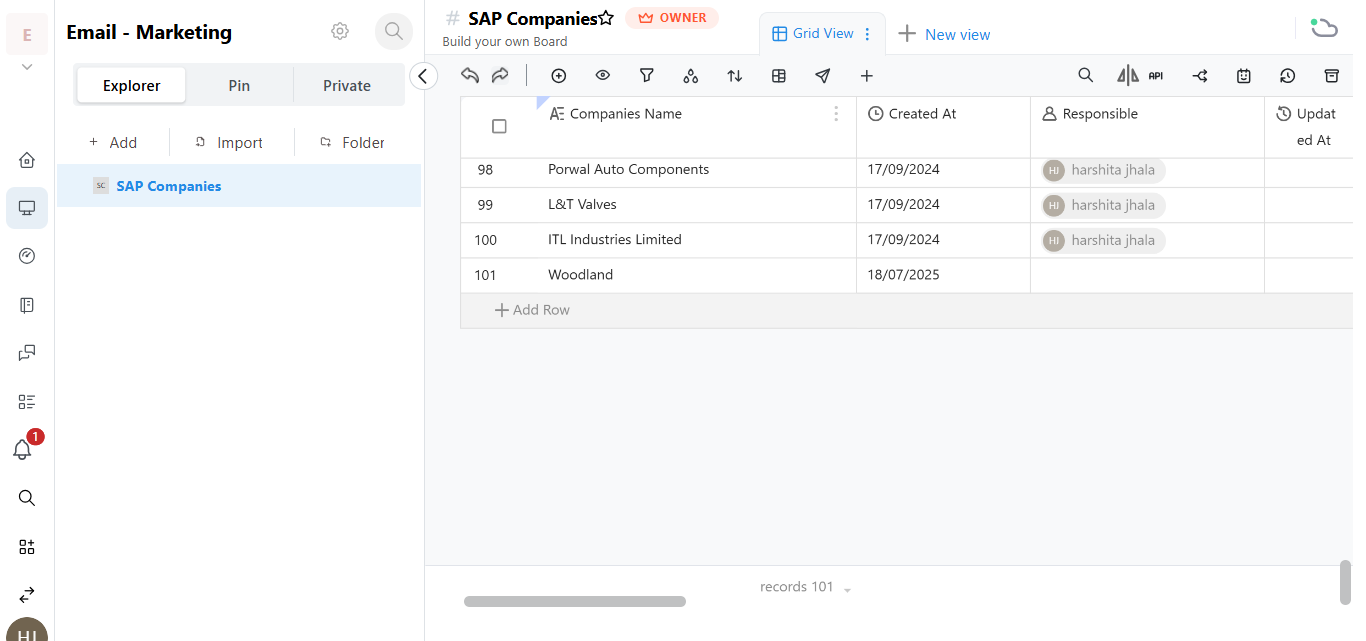
- Type your content.
- Press Enter.
New row has been added at the end.
With these three simple methods, you can quickly and effectively add rows to organise your board in Hoicko. Choose the method that best suits your workflow!