How to Add a Column in a Board in Hoicko
To better organise your board and track data more efficiently, you can add custom columns in Hoicko. Follow these two simple methods:
Method 1: Add Column from the Top (Middle Upper Section)
1. Select the board where you want to add a new column.
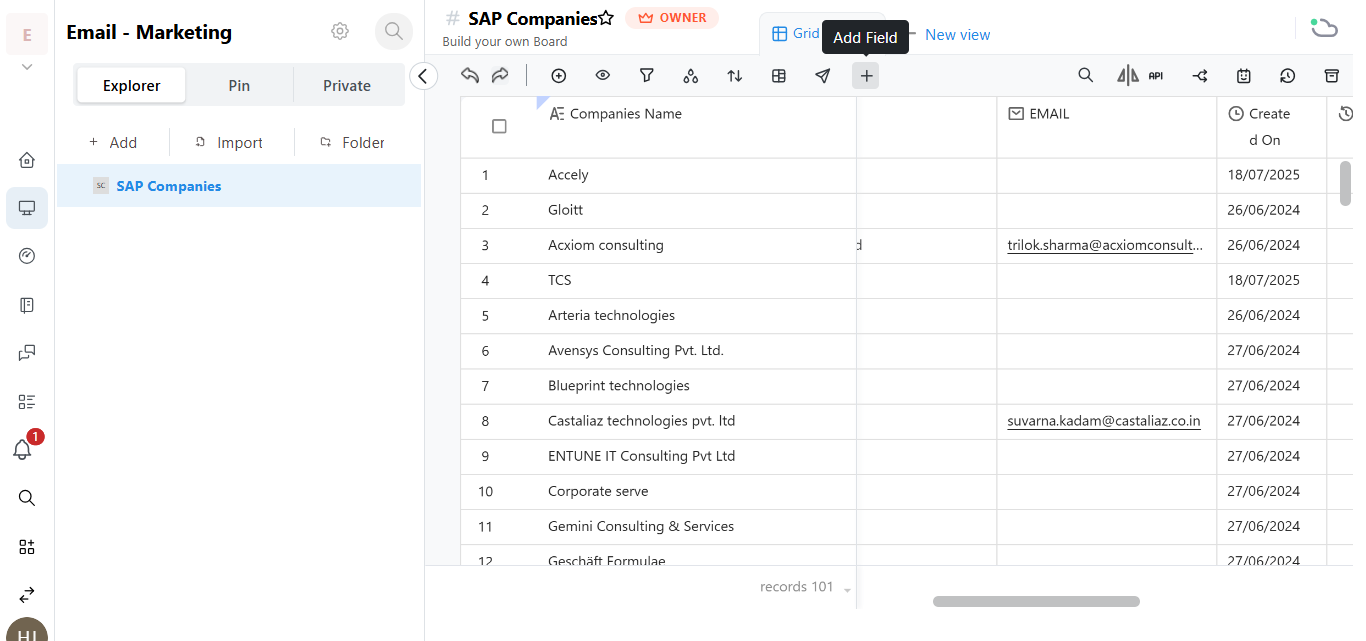
2. At the Top Middle of the Board
3. You’ll find this icon in the header row (column section).
4. Click on the ➕ Add Field icon.
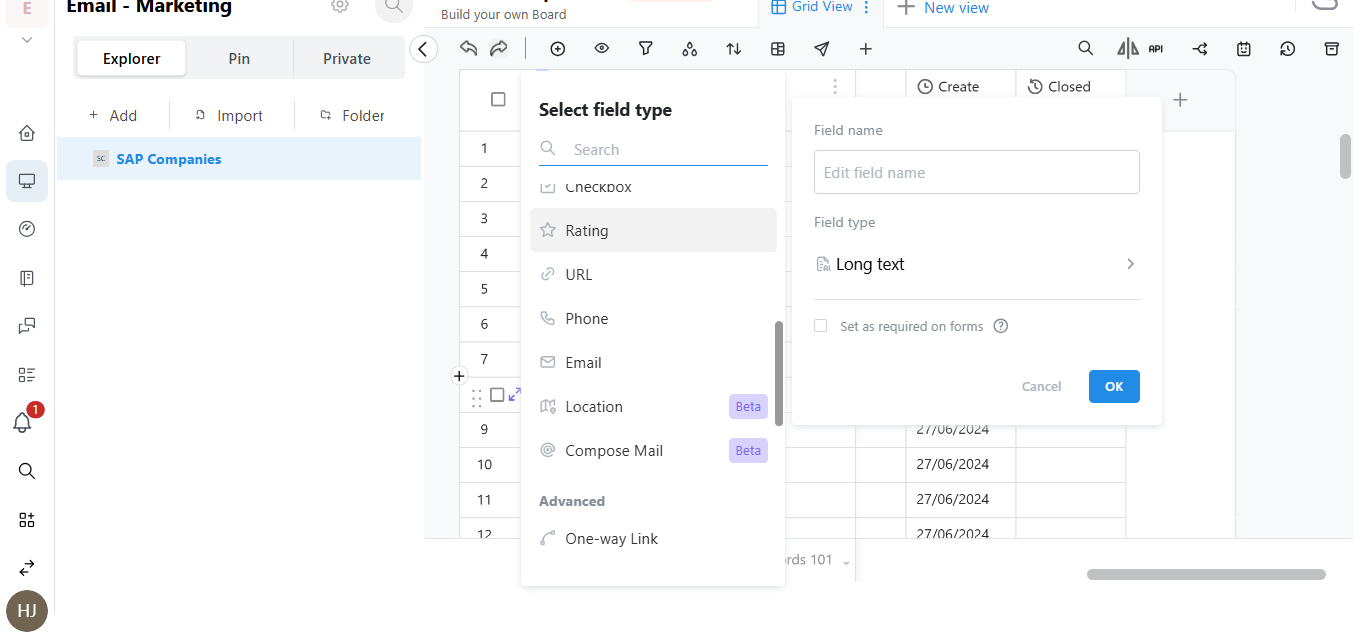
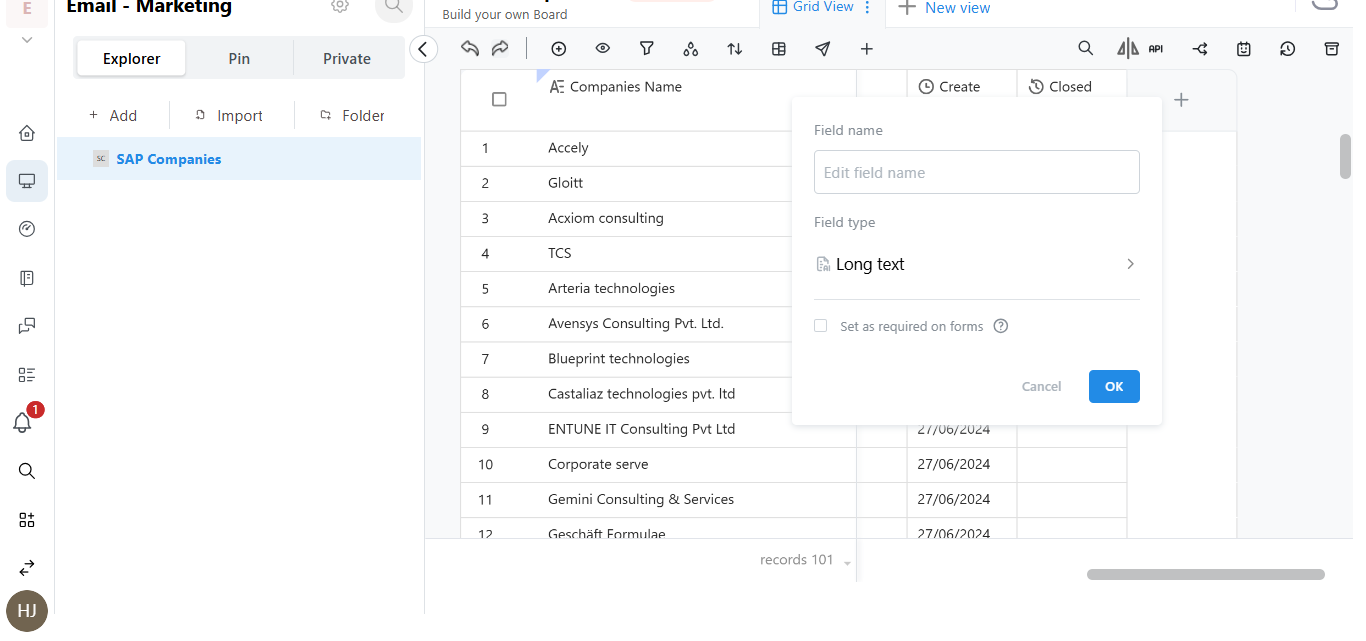
5. A Pop-up Will Appear
6. In the pop-up, either type the name of the new field or select a column type as per your requirement.
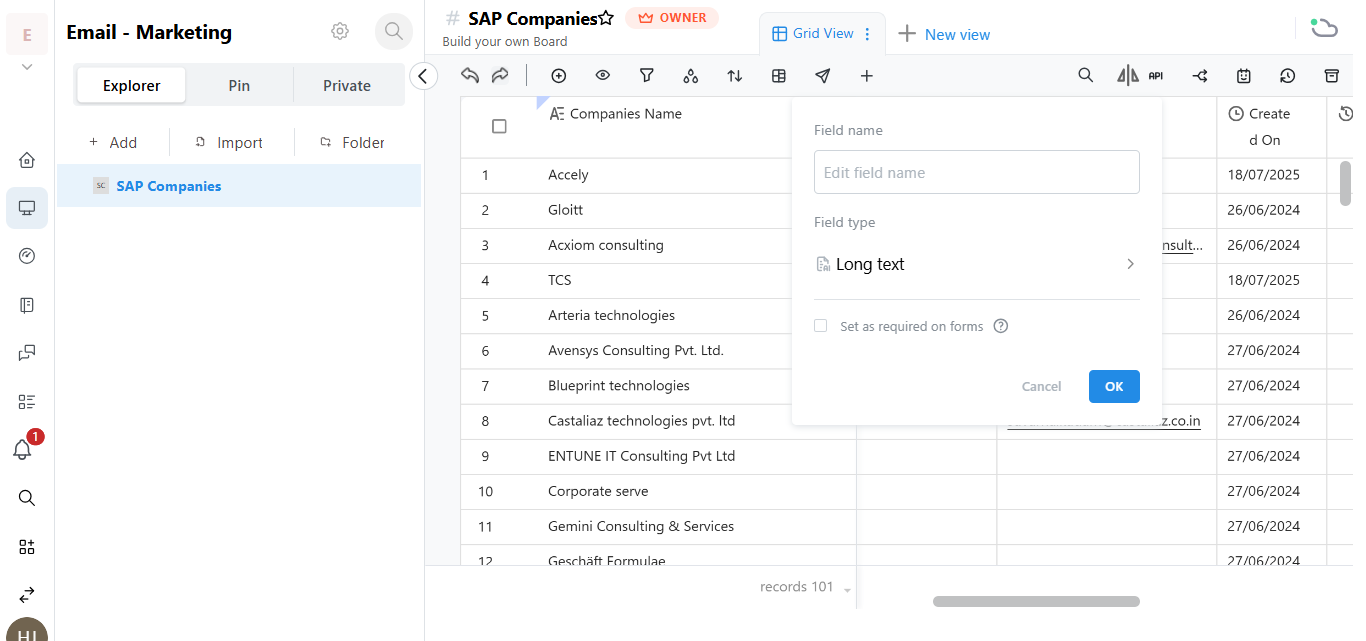
7. Click on OK.
Your new column will be added successfully to the board.
Method 2: Add Column from the Last Column Section
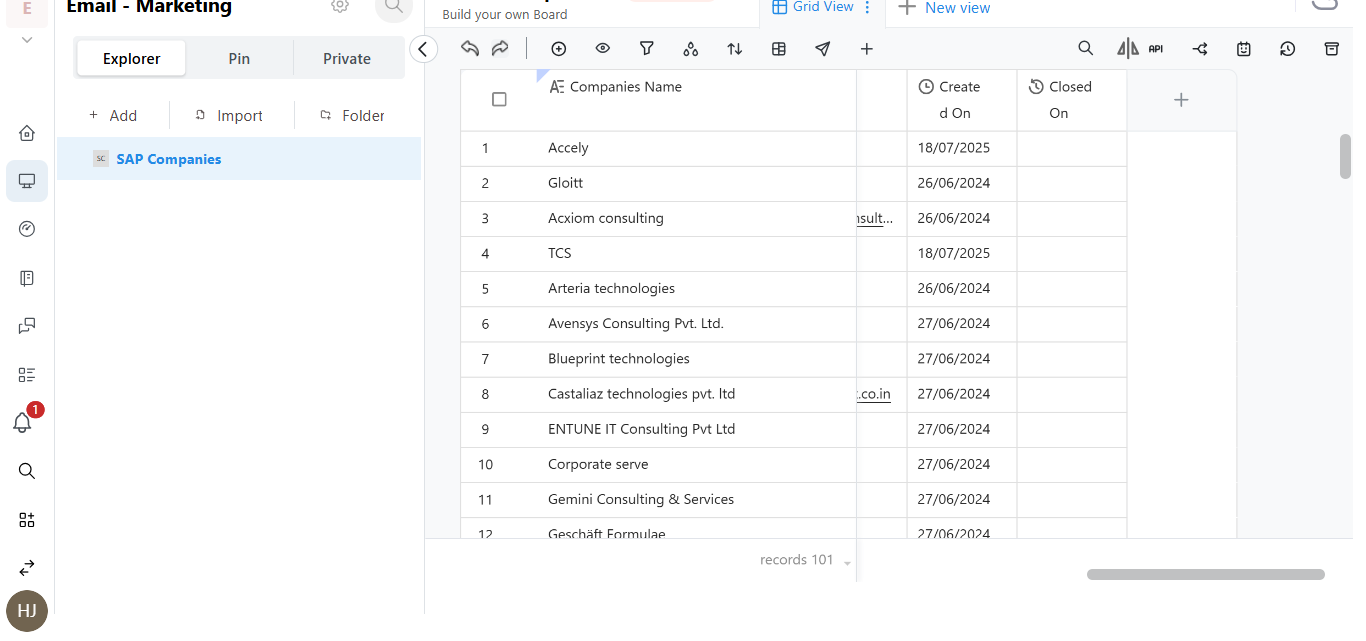
1. Scroll to the Right End of the Board Columns
2. Click on the '+' Icon at the End
3. A Pop-up Will Appear (Same as in Method 1)
4. Type the new field name or choose the column type based on your needs.
5. Click on OK
The new column will now appear at the end of your existing columns.
If you click on "Long Text, there are several field types for adding columns, like numbers, people, etc. you can also choose for them also.